Chapter 3: Microscopy
Because most microorganisms are too small to be seen with the naked eye,
microscopes are necessary to view them successfully. There are many kinds of
microscopes with a variety of different designs, but all of microscopy
accomplishes essentially the same three functions:
- magnification: enlarging an image
- resolution: distinguishing between two points that are close
together
- contrast: distinguishing an object from the background
Because most bacteria are nearly colorless, contrast is most often provided
by staining cells, a topic we will address in the next chapter. Magnification on
most light microscopes is limited to ~ 1000x or less - any more and all you will
see is simply larger blurry objects! 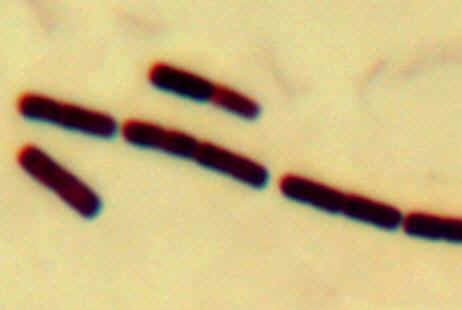
The most common type of microscopy is bright-field microscopy (Atlas Fig.
3.2A). Here, the
entire slide is illuminated and any dark (colored or stained) objects on the
slide block light, providing contrast. Unfortunately, most staining and fixation
procedures (except for vital stains) kill the cell, making it impossible for the
viewer to distinguish live and dead cells.
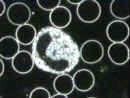 A second type of microscopy
is called darkfield
(Atlas Fig. 3.2B); here, the optics are adjusted so that the light source
misses the objective lens and the viewer sees only a 'dark field' unless there
are objects or cells present. Light is bent (refracted) by these objects, which
become visible as bright
A second type of microscopy
is called darkfield
(Atlas Fig. 3.2B); here, the optics are adjusted so that the light source
misses the objective lens and the viewer sees only a 'dark field' unless there
are objects or cells present. Light is bent (refracted) by these objects, which
become visible as bright 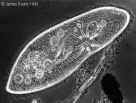 objects
on a dark background. A third type of microscope, the phase contrast
microscope (Atlas Fig. 3.2C),
illuminates the entire field, but light passing through objects is slowed down
to varying degrees and becomes 'out of phase' with light passing through less
dense regions, thus generating contrast. Both the dark-field and phase contrast
microscopes are ideal for viewing living, unstained cells. Yet another type of
microscope, the fluorescence
microscope (Atlas Fig. 3.2D), makes use of special dyes (called fluorochromes) which
objects
on a dark background. A third type of microscope, the phase contrast
microscope (Atlas Fig. 3.2C),
illuminates the entire field, but light passing through objects is slowed down
to varying degrees and becomes 'out of phase' with light passing through less
dense regions, thus generating contrast. Both the dark-field and phase contrast
microscopes are ideal for viewing living, unstained cells. Yet another type of
microscope, the fluorescence
microscope (Atlas Fig. 3.2D), makes use of special dyes (called fluorochromes) which 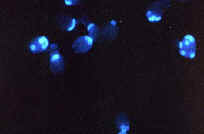 fluoresce/glow
in the dark when illuminated with certain wavelengths of light (often UV).
Because these dyes can be linked to certain cell components, this type of
microscopy allows the user to visualize parts of cells, such as the bud scars
in this image of budding yeasts.
fluoresce/glow
in the dark when illuminated with certain wavelengths of light (often UV).
Because these dyes can be linked to certain cell components, this type of
microscopy allows the user to visualize parts of cells, such as the bud scars
in this image of budding yeasts.
The objective of this lab (no pun intended) is to familiarize you with the
basic microscope operations and controls and for you to successfully view (and
describe/draw) several microorganisms on prepared slides. In addition to
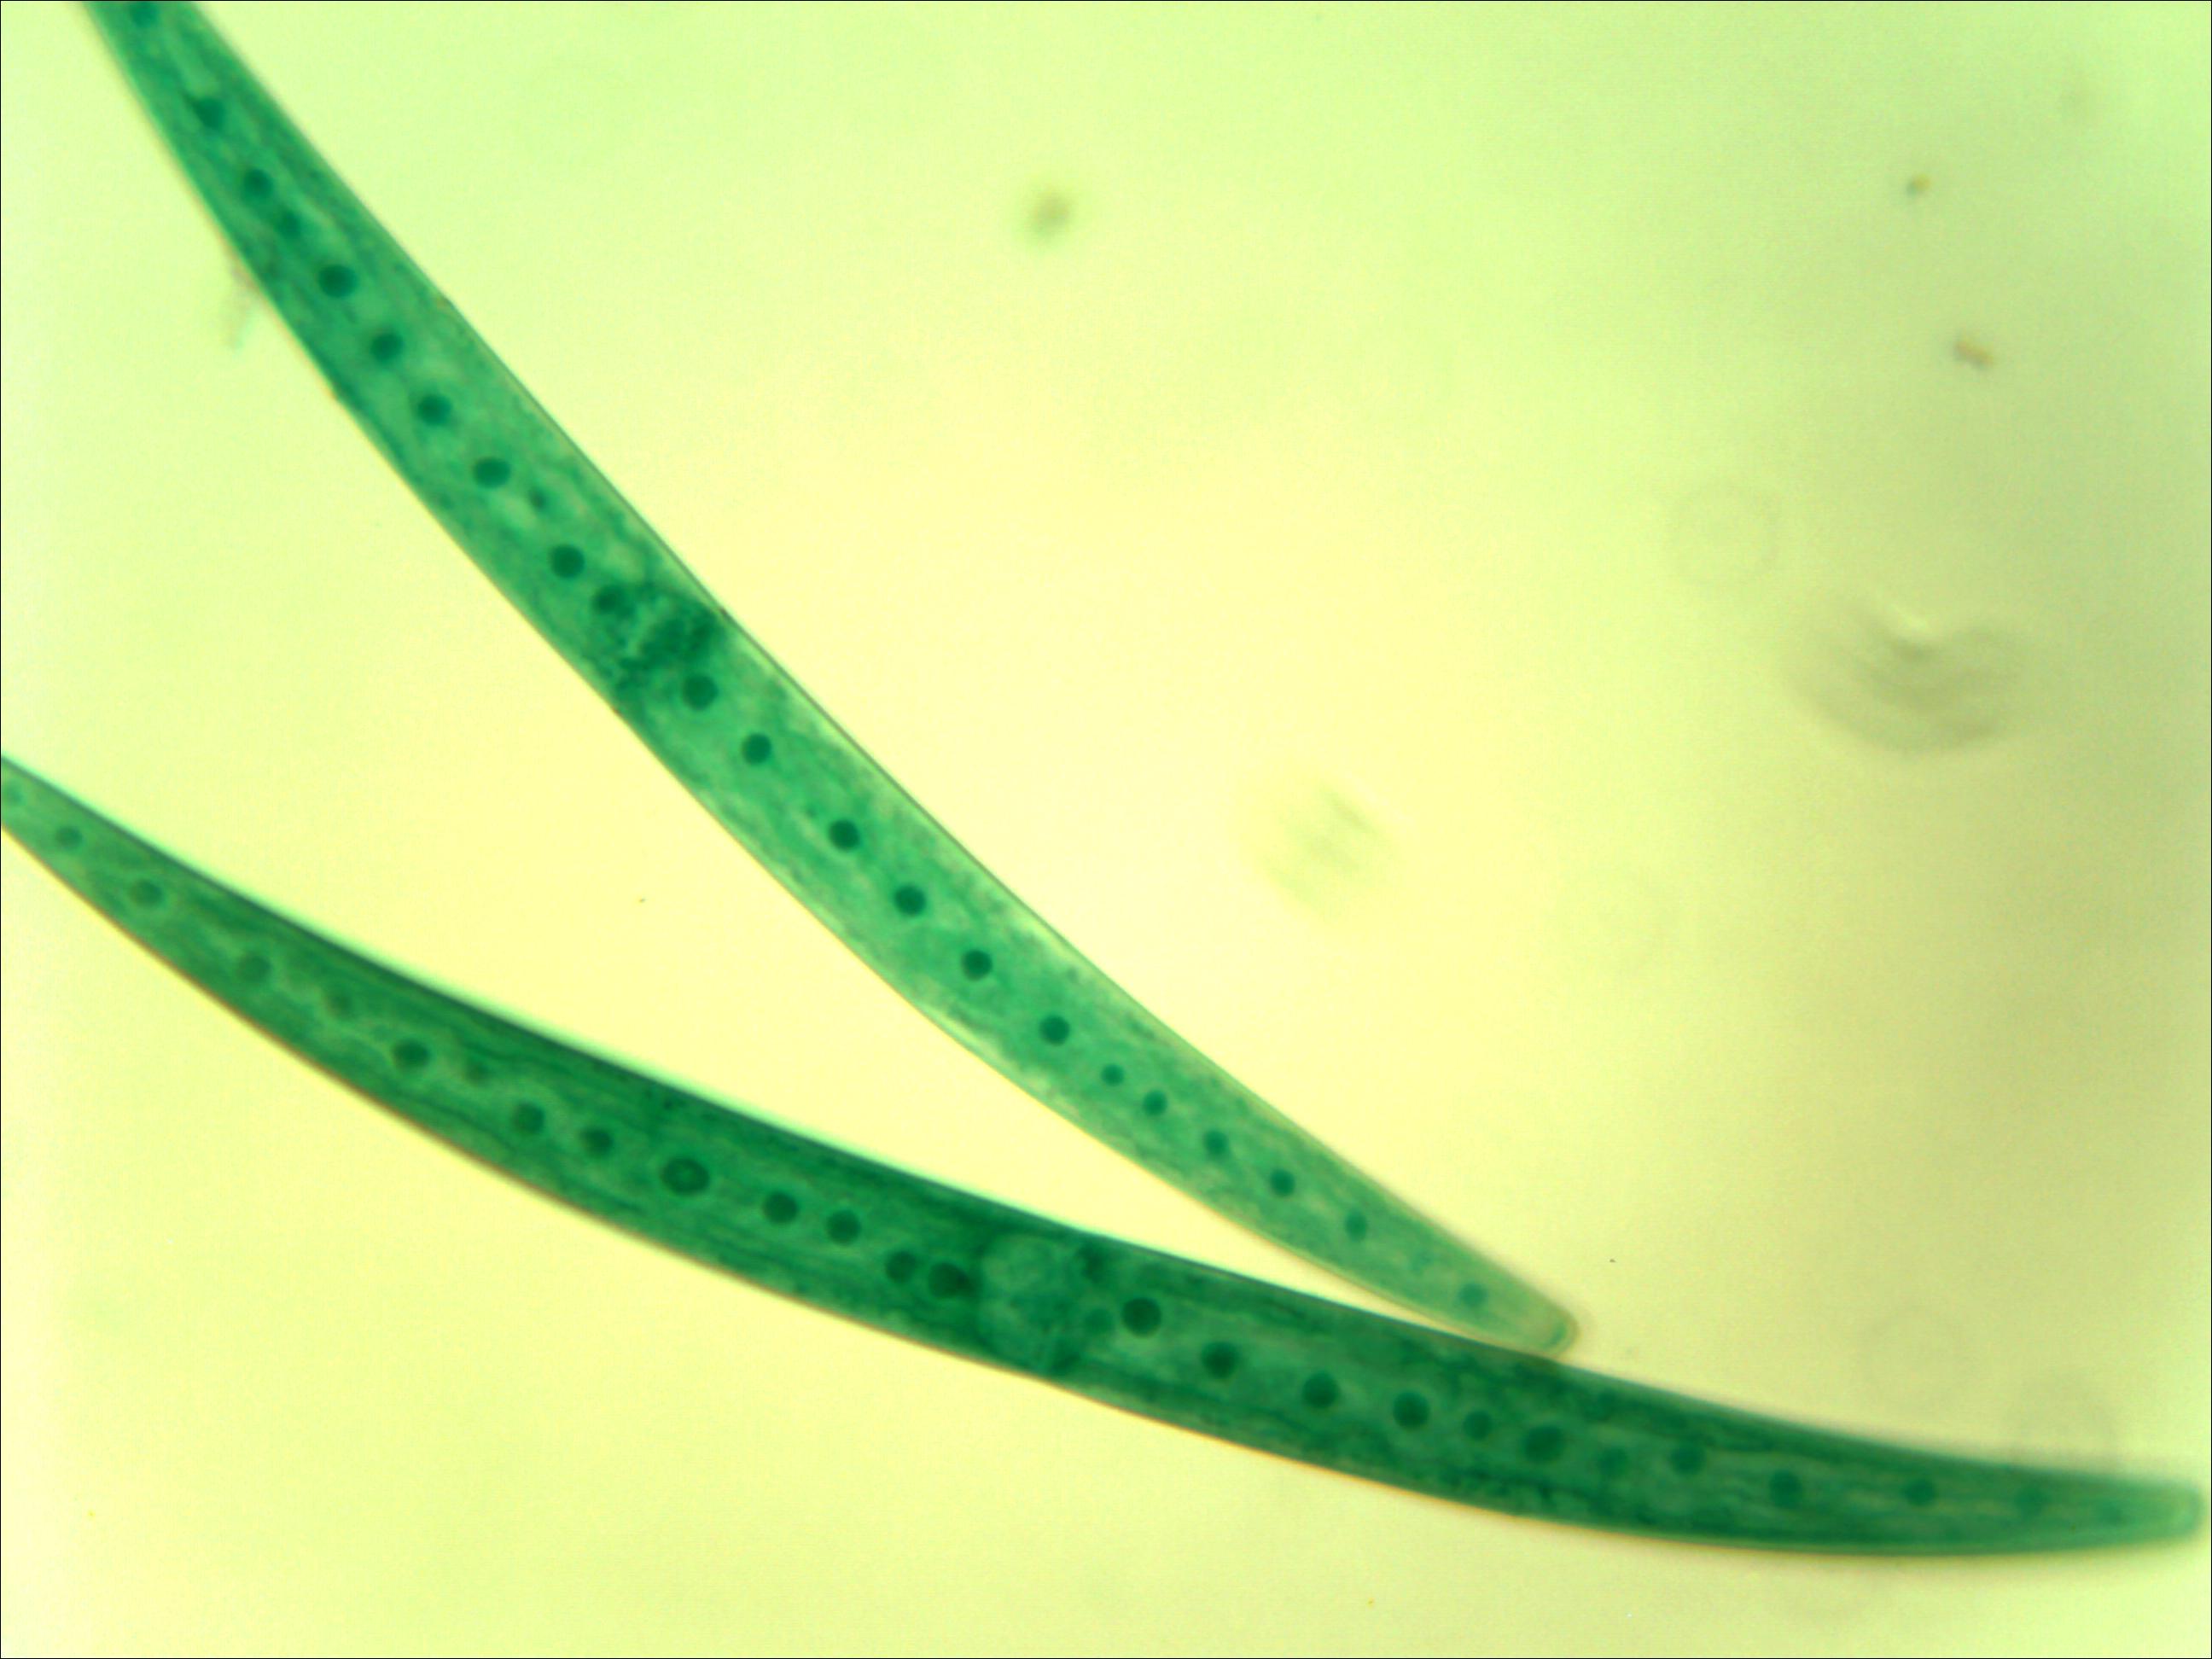
practicing your microscope skills, you will also see representative examples
of eukaryotic and prokaryotic microbes: protozoa, algae, fungi, and
cyanobacteria. Look for the nucleus, chloroplasts, cilia, etc. on your
slides!
Materials & Methods
A. The Microscope
1. Take a microscope from the cabinets to the left of the instructor's
station. Be sure to always carry microscopes with two hands, one hand supporting
the base.
2. Get a book of lens paper and a small bottle of immersion oil.
3. Clean your microscope each time after using it: Clean
lenses/glass surfaces with lens paper only; clean the stage with a Kimwipe or
paper towel.
4. Familiarize yourself with the following controls on your microscope: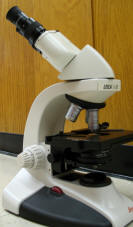
-
Power switch and dimmer switch: turns on power and
dims/brightens light intensity
- Stage controls: move the stage left - right and front - back
- Coarse focus knob: for use with low power lenses for large
adjustments in focus
- Fine focus knob: for use with high power lenses or for fine focus
adjusting
- Condenser lens: focuses light onto a section of the slide. Raise
this lens when using high-power objective lenses to get more light into the
lens.
- Iris diaphragm: controls the amount of light that passes though the
condenser to the slide
- Objective lenses: There are 4 lenses right above the
stage: the oil immersion (white band; 100x) lens, the high - dry (blue band;
40x) lens; the low power (yellow band; 10x) lens, and a scanning
(red band; 4x) lens.
- Ocular lenses (eyepieces): Usually 10x magnification
B. Basic observations
- Work individually.
- Choose a slide to view and place in on the stage in the slide holder.
Turn on the light (red knob) to maximum. Looking at the stage, try to center the slide in the cone of light coming from
the condenser.
- Rotate the low power lens (10x) into place. Raise the stage as
high as it will go, then lower it 1/4 turn of the coarse focus knob. This
will bring you close to being in focus.
- Adjust the light level using the iris
diaphragm. The iris diaphragm has a setting for each magnification (10x, 40x,
100x).
- Slowly turn the coarse focus knob to raise or lower the slide while looking
through the ocular lens. Stop when something comes into focus. [It does not
matter at this moment whether it is a piece of dust on the slide as long as
you actually locate the slide surface!]. You will know the slide is in view if
the thing you are focusing on moves when you move the stage controls.
- Now move the stage controls back & forth slowly until the
colorful cells come into view. They will likely still be somewhat out of
focus. Adjust the focus carefully using the fine focus knob until the image
becomes clear.
- Change from low power lens to the high-dry lens. Do this by rotating the
objective lens into place without touching the focus knobs or stage controls.
These microscopes are designed to be par-focal, meaning that an object in
focus at one magnification should still be nearly in focus at the next
magnification.
- Adjust the light level (iris diaphragm) and move the stage controls slightly to center
the cells again. Some slight adjustments in focus will be necessary.
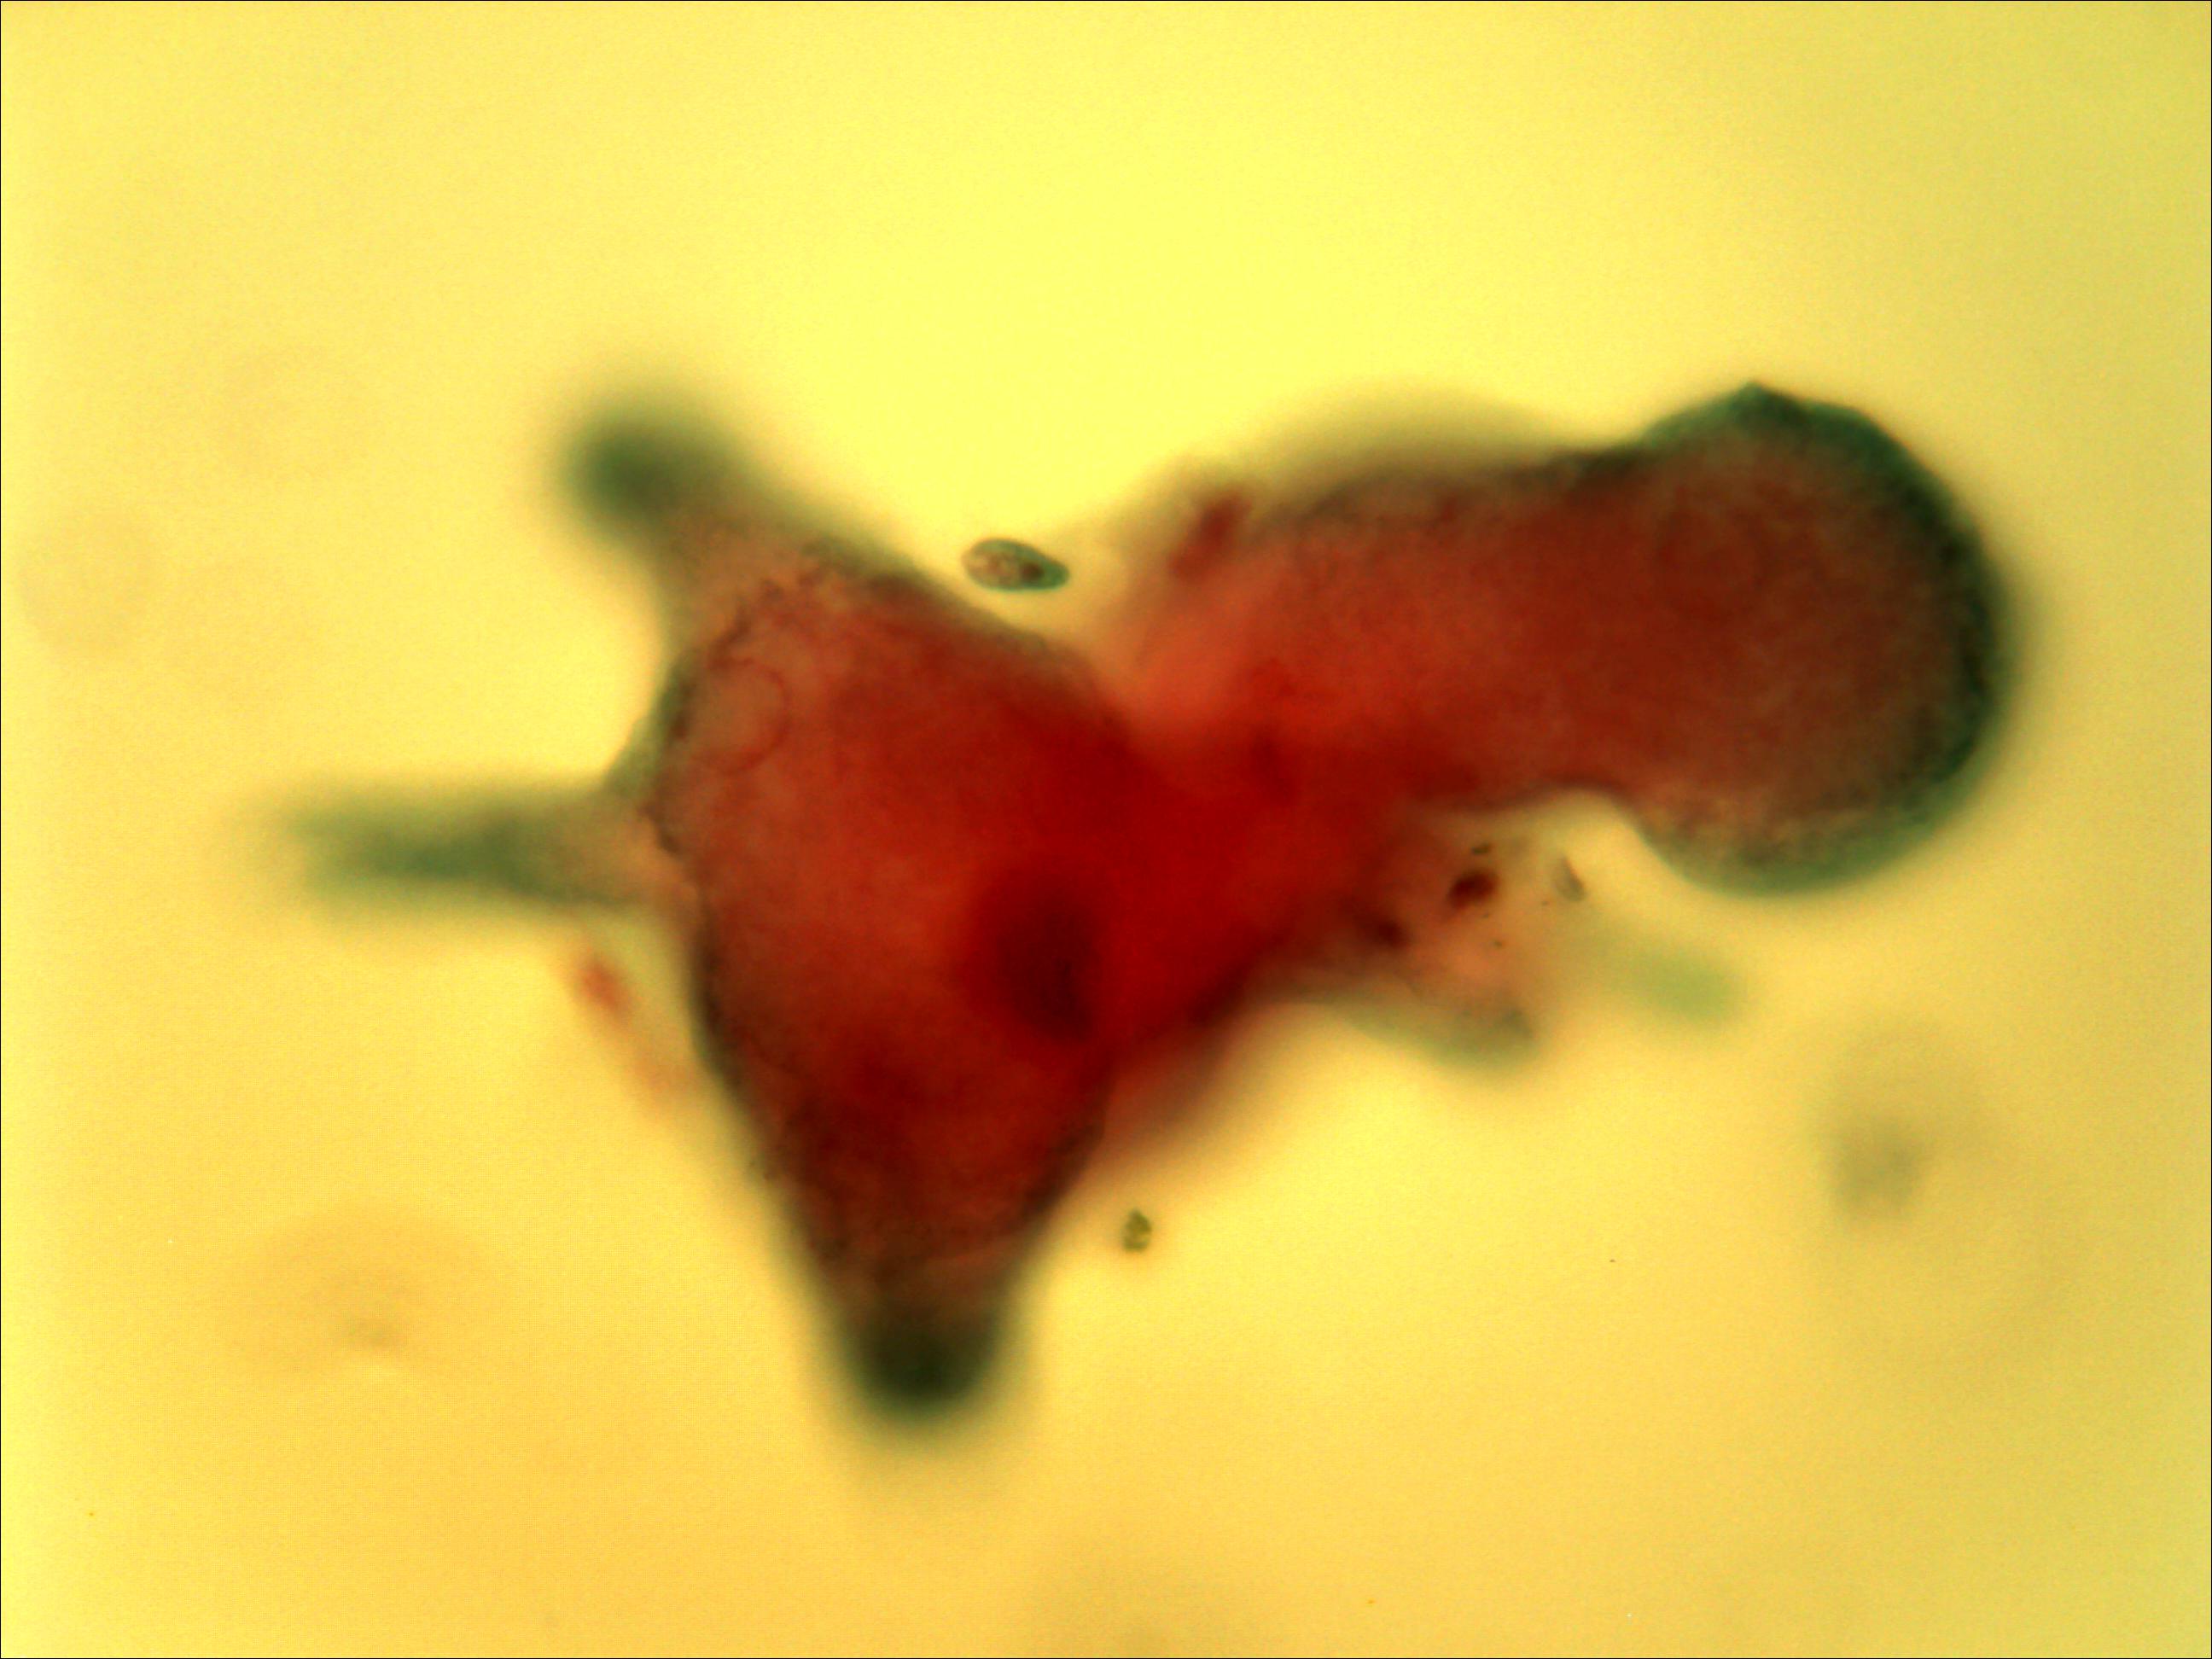
- Examine the following organisms under lower power (4x - 40x):
- Take digital images of each organism you observe
- Remove one eyepiece of your microscope and insert the digital camera
in its place. Plug the USB cable into a USB port on your computer. (If
prompted, complete the installation instructions for the camera)
- For DCM300 camera:
- Start the
ScopePhoto software. Click on the
SD button to
select device: DCM300 camera
- Click on the TC button to get a live image. Adjust the
microscope brightness and/or the image settings if needed.
- Click the capture button to take an image. This image appears
in a new window. Use the save as function to save the image,
as
a jpg file, to a pen drive or the computer's thawspace.
- For new cameras:
- Start the ToupView software.
- Click on the camera name (left side of screen). A live view will
appear in the main window.
- Use "snap" to capture images.
- You can also crop images
- Use the SELECT tool to select a part of a captured image
- Use the CROP function in the Image menu to crop the selected region
- Save the image to your pen drive using Save As.
C. Demonstrations
- Take a look through the darkfield microscope (Demo
#1). What do you see?
How does this differ from the brightfield? What is the darkfield microscope used
for?
- Examine the cells seen through the phase contrast microscope (Demo
#2).
How do these cells compare with the darkfield and brightfield microscopes?
- Look at the cells shown with the fluorescence microscope (Demo
#3). Describe what you see.
D. Measuring the size of microorganisms
Eyepiece method: Replace one of your regular eye pieces
with an eyepiece that has a micrometer scale built into it. The scale units have
the following meaning:
- with 10X lens: 1 unit = 10 micrometer
- with 40X lens: 1 unit = 2.5 micrometer
- with 100X lens: 1 unit = 1 micrometer
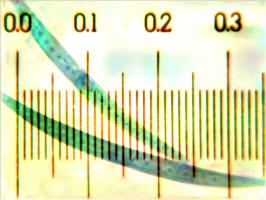
Image Fusion Method: (For use with DCM300 or DCM500 camera)
Capture a digital image file of your cells. Open the image file of a
micrometer (scale) taken at the same magnification as your digital image (4x,
10x, 40x, 100x). You can find these files on Moodle.
Using the Image fusion function, superimpose the image file with
the image of the micrometer.
Example (image on right): The numbers on the micrometer are in millimeters,
and each scale division represents 10 micrometers. In this picture, the scale goes up to ~
0.3 mm = 300 µm. The cell behind it is ~ 360 µm long.
Data table: size of cells
| Cell |
Magnification (lens used) |
Length of cell (µm) |
| Paramecium |
|
|
| Closterium |
|
|
| Coprinus (spore) |
|
|
© 2003 - 2017 José de Ondarza, Ph.D.
